Detecting motion with OpenCV — image analysis for beginners
How to detect and analyze moving objects with OpenCV

Detecting Motion with OpenCV — Image Analysis for Beginners
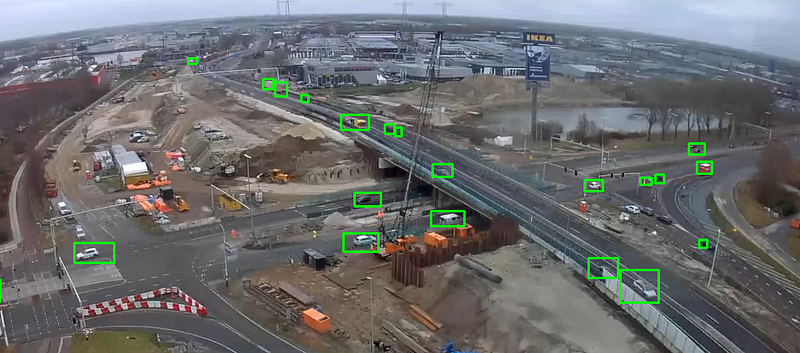
Motion detection has many purposes. You can use it to start recording once you see movement on a wildlife camera or a security camera, e.g. Another application is performance-improvement. Instead of analyzing a whole image, we only have to work with small parts that moved. Like only identifying the color of the moving cars in the image above.
In this article, we’ll create a fully working motion detector that can be used for all of the use-cases above. In the process, we’ll learn a lot about processing images with OpenCV. At the end of this article, you’ll have a fully operational motion detector and a lot more knowledge about image processing. Let’s code!
Series
This article is part of a series about OpenCV image processing. Check out the other articles:
- Reading images, video’s, your screen and the webcam
- Detecting and blurring faces
- Destroying Duck Hunt with template matching: finding images in images
- Creating a motion-detector (📍 You are here!)
- Detecting shapes without AI (under construction; coming soon)
- Detecting and reading text from images (under construction; coming soon)
Setup
Our client asked us to create some software for analyzing transportation in a city. They want to know how many bikes, cars, buses and pedestrians visit a particular location on a given day. We’ve installed a webcam that films the locations.
The data-science team has some very fancy models for determining whether a particular image is a bike, bus, car of person but they cannot run this model on the entire image. It is our task to pre-process the image. We need to take small snippets that we can run the identification model on.
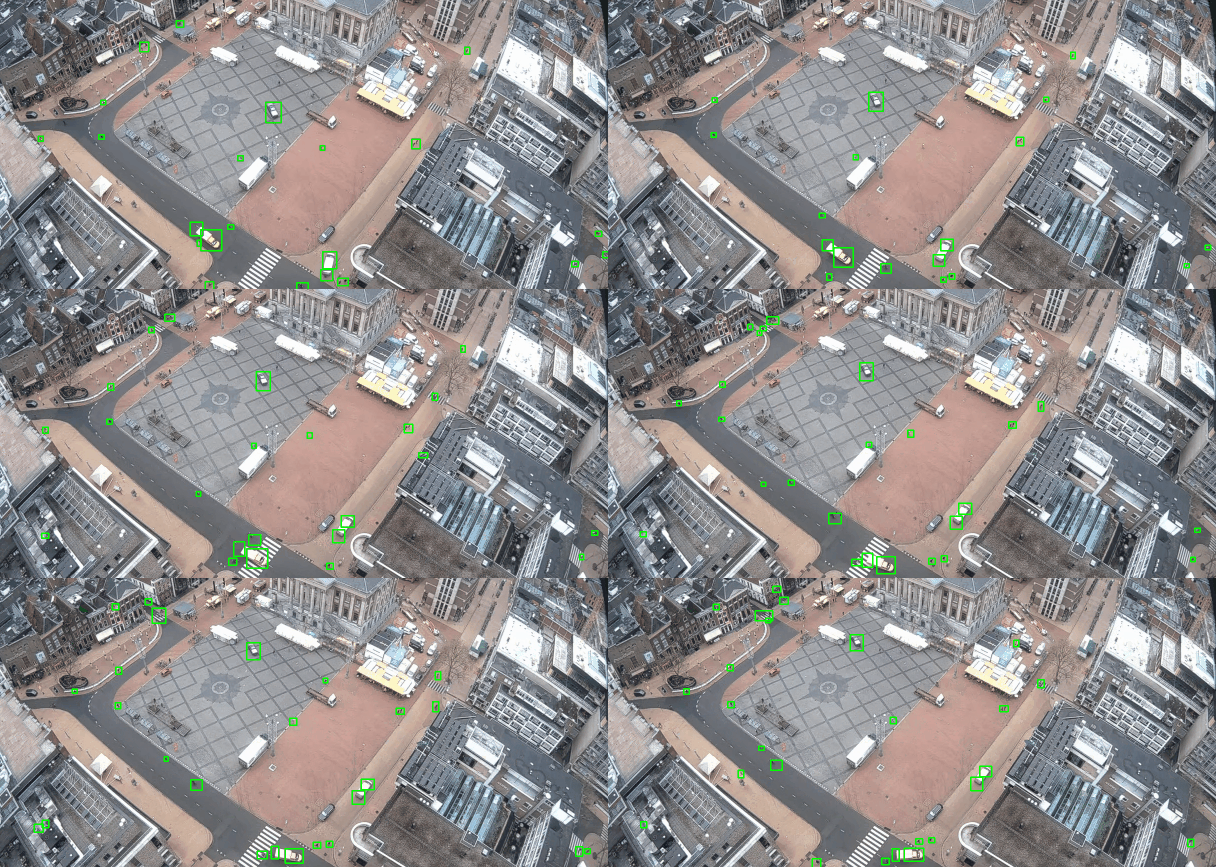
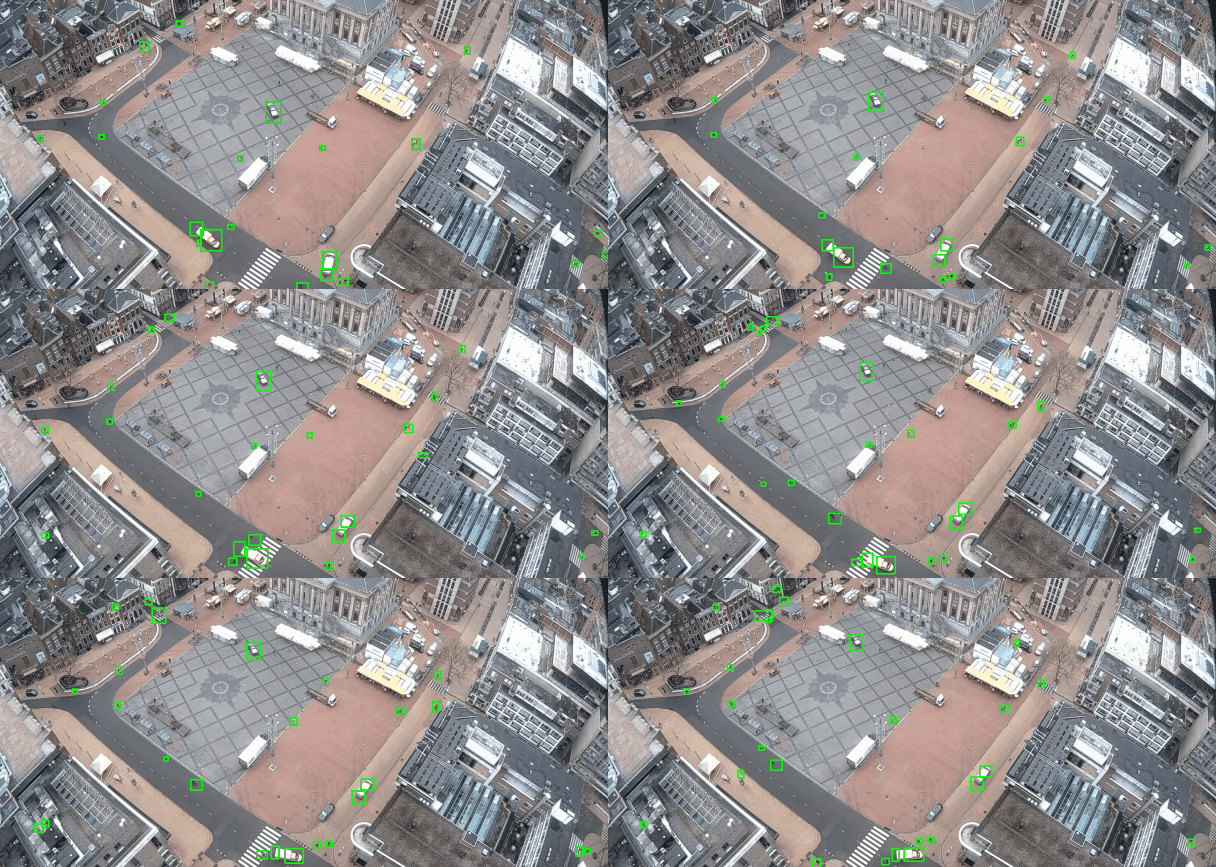
How do we actually detect movement? We are going to compare each frame of a video stream from my webcam to the previous one and detect all spots that have changed. The end result will look something like this:

Now the data science team can run their models on each green rectangle instead of the whole screen. Much smaller, and therefore, much quicker. let’s code!
Dependencies
Instead of reading an actual webcam, we’ll put a live webcam of my beautiful city of Groningen from YouTube on our screen and record that. If you want to use another source then check out this article to learn how to read it.
In our case we’ll need the following imports:pip install opencv-python pillow
Creating the motion detector
Let’s code a motion detector! We’ll go through it in parts. The whole code will be available below.
Step 1. Reading and preparing our frame
First, we’ll actually read the image and convert it from OpenCV’s default BGR to RGB:
If you’ve read the previous article this is nothing new; we load our image, convert its color to RGB (so that we can show it later on).
The next bit is more interesting though; we convert the image to gray and smooth it out a bit by blurring the image. Converting to grey converts all RGB pixels to a value between 0 and 255 where 0 is black and 255 is white. This is much faster than handling three values (R, G and B). This is the result:

Step 2. Determine motion (change compared to the previous frame)
In this part, we’ll do the actual motion detection. We’ll compare the previous frame with the current one by examining the pixel values. Remember that since we’ve converted the image to grey all pixels are represented by a single value between 0 and 255.
In the code below we set a previous frame if there is none. Then we calculate this difference with the absdiff method. After that, we update our previous frame. Next, we dilute the image a bit. Dilation fills holes and connects areas; it makes small differences a bit clearer by increasing the size and brightness.
We are not interested in pixels that are slightly brighter or darker; we use the cv2.threshold function to convert each pixel to either 0 (white) or 1 (black). The threshold for this is 20; if the difference in shades between the current and previous frame is larger than 20 we make that pixel white, else we turn it black. This is what that looks like:

Notice that the white dots are quite a bit bigger than the actual objects moving. This is the result of diluting the image. The bigger areas will help us when defining contours in the next part.
Step 4. Finding areas and contouring
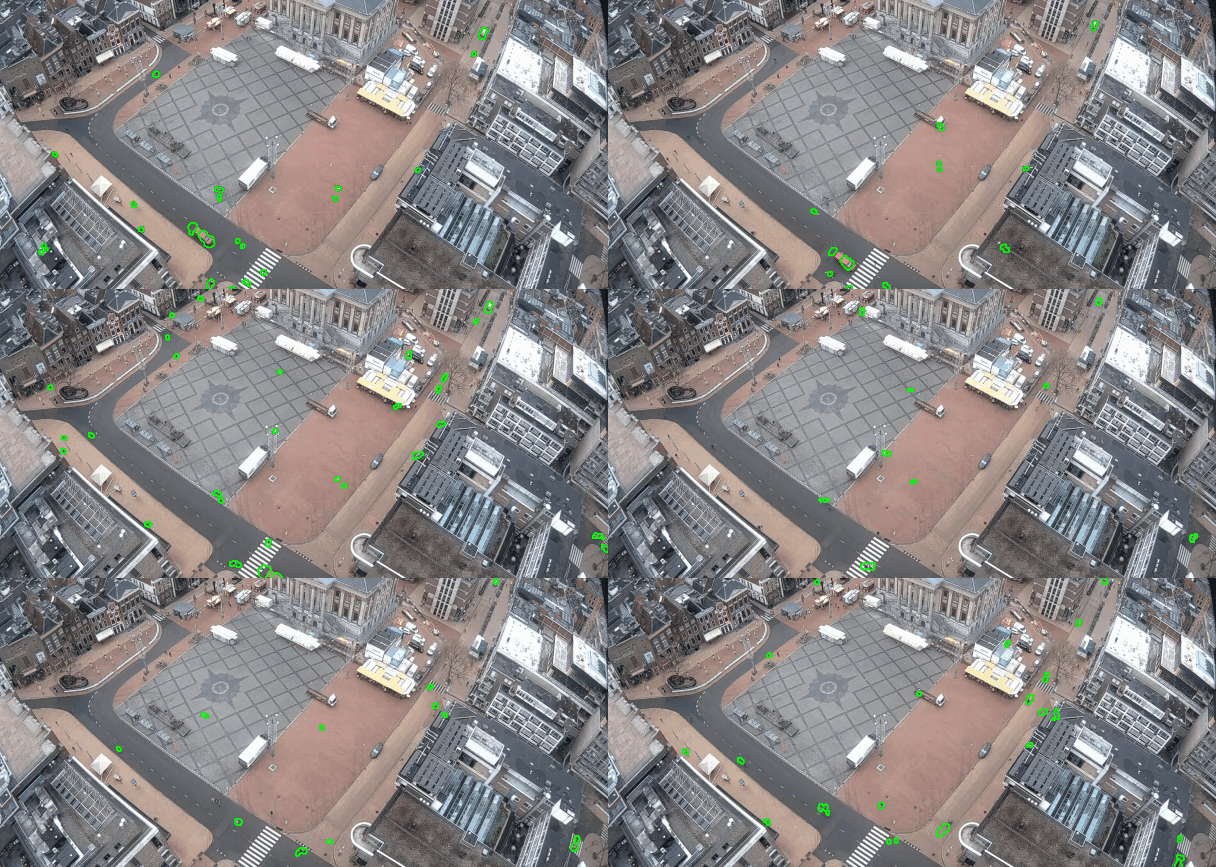
We want to find the area that has changed since the last frame, not each pixel. In order to do so, we first need to find an area. This is what cv.findContours does; it retrieves contours or outer limits from each white spot from the part above. In the code below we find and draw all contours.
Two lines! Not bad. Check out the result below. Notice that we’re even tracking birds!

Although this looks very pretty we promised our data science team images so let’s find the coordinates of the areas and call it a day:
This will, again, find our contours. Then we’ll loop through, discard any too small areas and retrieve the coordinates from the areas. These are the coordinates that we have to send to our data science team. For now, we’ll just put a green rectangle around it with cv2.boundingRect.
Step 5. The final step
In the previous step we’ve drawn the images on the RGB frame so in this very last step we just show the result:cv2.imshow('Motion detector', img_rgb)
if (cv2.waitKey(30) == 27):
break
In the gif below you see the end result of our analysis. Check out this and this video on YouTube for additional demonstrations. All code is available here.

Below is a quick side-by-side where we compare our input-frame, processed frame and our output. Very pretty indeed!

Conclusion
In this part of the OpenCV series, we’ve examined how motion detectors work. Along the way we worked with image processing; blurring, diluting, finding differences between frames. In addition, we performed some very handy analyses; finding contours and bounding boxes. Lastly, we learned about drawing rectangles and contours on the image.
Don’t forget to check out the other articles in this series!
If you have suggestions/clarifications please comment so I can improve this article. In the meantime, check out my other articles on all kinds of programming-related topics like these:
- Why Python is slow and how to speed it up
- Advanced multi-tasking in Python: applying and benchmarking threadpools and processpools
- Write you own C extension to speed up Python x100
- Getting started with Cython: how to perform >1.7 billion calculations per second in Python
- Create a fast auto-documented, maintainable and easy-to-use Python API in 5 lines of code with FastAPI
- Create and publish your own Python package
- Create Your Custom, private Python Package That You Can PIP Install From Your Git Repository
- Virtual environments for absolute beginners — what is it and how to create one (+ examples)
- Dramatically improve your database insert speed with a simple upgrade
Happy coding!
— Mike
P.S: like what I’m doing? Follow me!


