Destroying Duck Hunt with OpenCV — image analysis for beginners
Write code that will beat every Duck Hunt high score

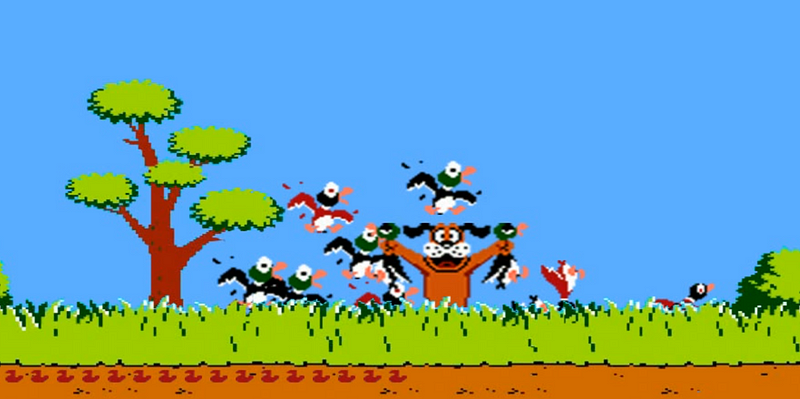
Duck Hunt is hard; let’s write some code that will top all high scores without even having to touch our mouse! We’ll apply some OpenCV techniques that will analyze our screen, search for ducks and shoot them by clicking on them. It will do this many times per second so don’t count on seeing that dog laugh at you ever again!
At the end of this article you’ll be able to beat your own games’ highscores without touching the mouse. Check out the end result here.

Series
This article is part of a series about OpenCV image processing. Check out the other articles:
- Reading images, video’s, your screen and the webcam
- Detecting and blurring faces
- Destroying Duck Hunt with template matching (📍 You are here!)
- Creating a motion-detector
- Detecting shapes without AI (under construction; coming soon)
- Detecting and reading text from images (under construction; coming soon)
Hunting birds
Obviously we’re not playing the original game; that needs to be played with the NES Zapper. We’ll be playing an online version in which we merely need to click the birds. Our goal is as follows:
- Record our screen so that we can analyze the frames
- Preprocess the frame and find a bird
- If a bird is found: move the mouse to that location and click
First we install our dependencies which is as simple as:pip install opencv-python pillow
Our imports look like this:import math
import cv2
import numpy as np
from PIL import ImageGrab

1. Recording our screen
In this we’ll start with our function that can find and shoot the birds (full code available at the bottom).
In the first few lines we define a few constants. In lines 4–7 we specify the part of our screen we want to record. We pass this bounding box to the ImageGrab method on line 19; this will ‘screenshot’ our screen on those coordinates. Notice that this is image is in a BGR-format, not RGB. More in this article about why that is, we just have to remember to convert in the end.
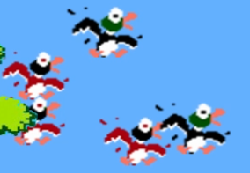
Next we define our template, which looks like the image below:

This is what the birds’ eye looks like most of the time (unless it’s flying horizontally as we’ll see later). The most important thing is that birds’ eyes look different when they are dead so we don’t spend ammo shooting birds that are already hit. We also extract the template height and width for later use.
On line 13 we start recording our screen. We don’t have to search for birds every frame (which is more than 30 times each second depending on your hardware). Therefore we only execute our code every 5 frames (lines 15–17), which is fast enough for all of those pesky birds to die.

2. Preprocessing and template matching
The pre-processing part is very minor; we just convert to gray to make execution a bit faster.
In line 5 we perform the actual template matching with the cv2.matchTemplate method. This returns an array of likely candidates. With the next line we only keep those candidates that have an accuracy of over 70%. Next we’re looping over all of our birds, extracting the coordinates and using those to draw a circle and a marker over the
If there are any candidates left we are going to take the coordinates in line 8. In this part we’ll just put a crosshair on the bird by drawing a cross-marker and a circle on the found template.
The rest of the code consists of converting BGR to RGB so that we see the original colors and making sure we can exit by pressing escape. Let’s check out the result:

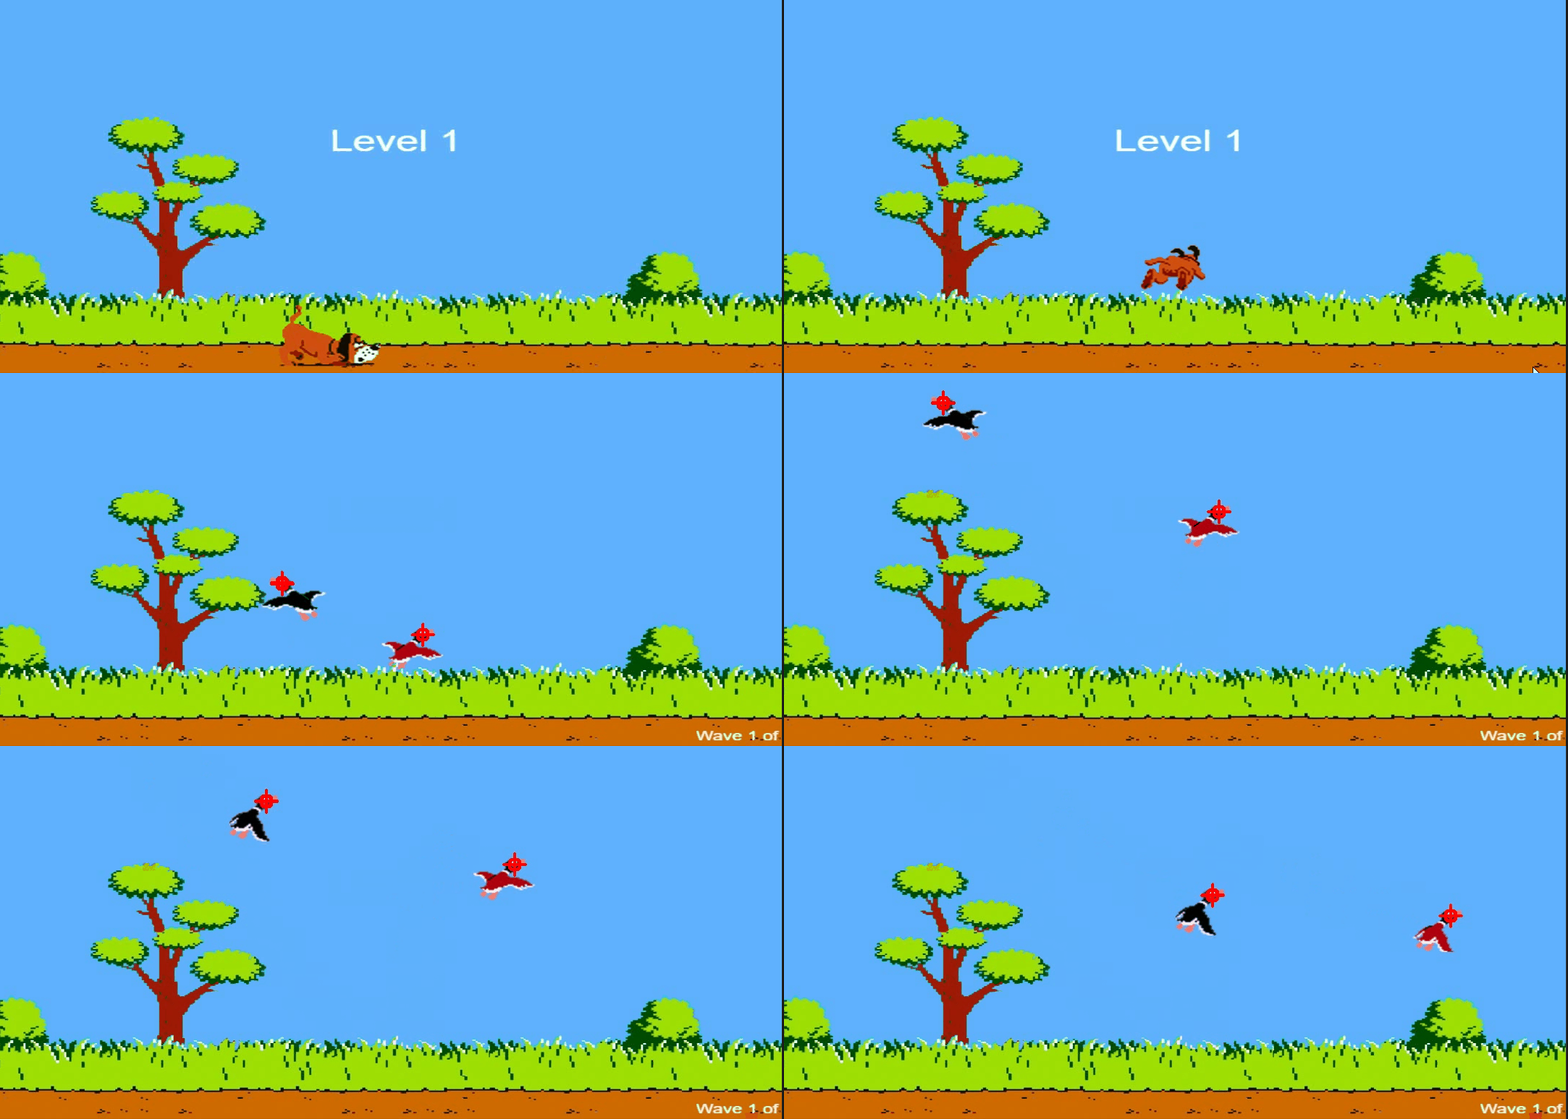
As you can see in the GIF above the template match function is doing what it should: identifying birds and putting a marker on them. In the next part we’ll shoot the birds.

3. Shooting the birds
In the previous part we’ve found the birds and their x-y-location. In this part we’ll simply move the mouse to that location and click.
First, in line 3, we convert out coordinates from frame-coordinates to screen-coordinates. We want to move our mouse to a location on screen whereas the bird-coordinates are relative to the frame (which is a smaller part of the screen since we’ve used the bounding box). This is the reason we have to add the bounding box coordinates to the bird coordinates to get the screen-coordinates.
Starting rom line 6 we check whether the coordinate is too close to a location we’ve previously clicked (in the same frame). This is done because sometimes the template-match algorithm finds another match just one pixel to the left; we don’t want to click the same bird twice and waste ammo. We use the just_shot_coords list that we defined at the top for this.
Lastly we set the cursor position and click with the ctypes library.

The end result
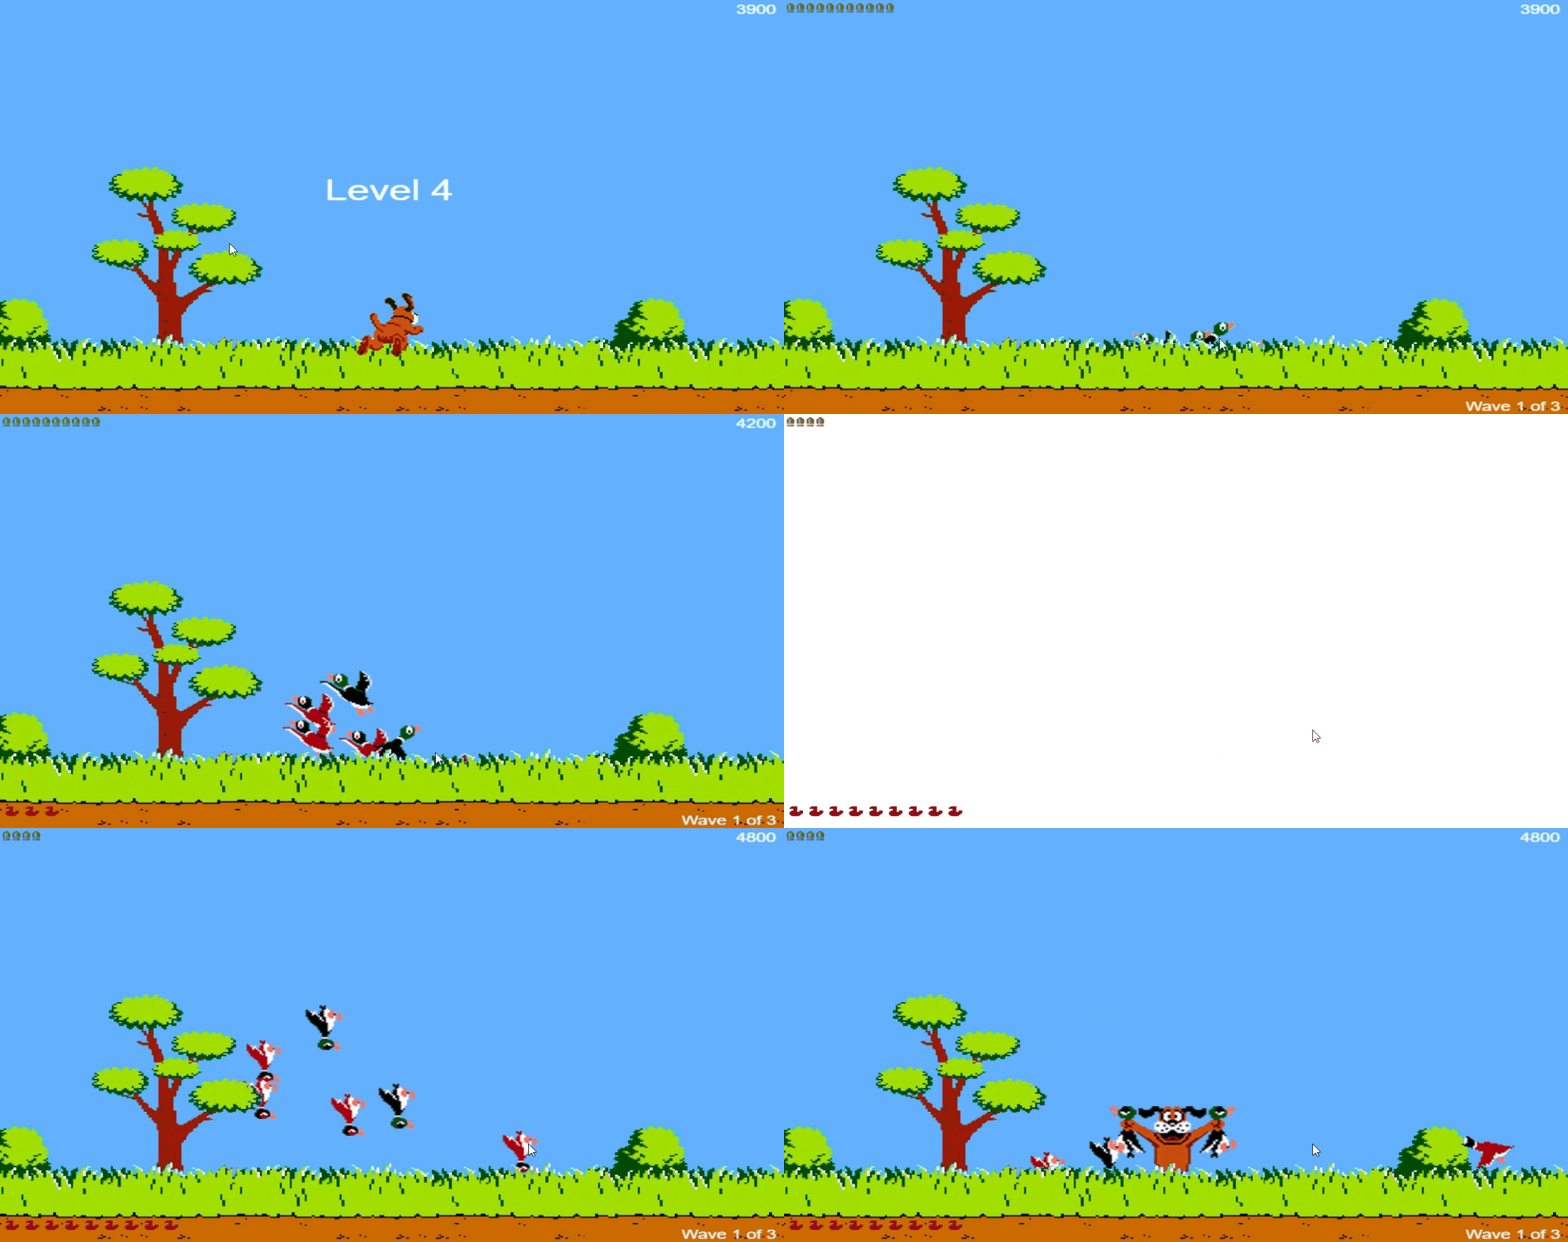
Let’s go hunting! In the gif below you can see a small highlight of our working algorithm. I’ve put the whole 2 minute playthrough of the game on YouTube; check it out here (excuse the horrible game sound) or here where I tweaked some parameters to shoot even faster.

Conclusion
In this part of the series we’ve taken a look at template matching; a very handy function that allows you to search for images within your image. Along the way we learnt a lot about using bounding boxes and grabbing your screen, color conversion and limiting executing to ‘once every x frames’.
Don’t forget to check out the other articles in this series!
If you have suggestions/clarifications please comment so I can improve this article. In the meantime, check out my other articles on all kinds of programming-related topics like these:
- How to Make a Database Connection in Python for Absolute Beginners
- Advanced multi-tasking in Python: applying and benchmarking threadpools and processpools
- Write you own C extension to speed up Python x100
- Getting started with Cython: how to perform >1.7 billion calculations per second in Python
- Create a fast auto-documented, maintainable and easy-to-use Python API in 5 lines of code with FastAPI
- Create and publish your own Python package
- Create Your Custom, private Python Package That You Can PIP Install From Your Git Repository
- Virtual environments for absolute beginners — what is it and how to create one (+ examples)
- Dramatically improve your database insert speed with a simple upgrade
Happy coding!
— Mike
P.S: like what I’m doing? Follow me!


