Detect and Blur Faces with a Simple Function — image analysis for beginners
Automatically anonymize your images, video’s or video-stream

Detect and Blur Faces with a Simple Function — Image Analysis for Beginners
Automatically anonymize your images, videos, or video-stream
In this article, we’ll create a handy function that you can use to blur faces. With this function, you can automatically blur faces in an image file, video file, and even in-stream like when you’re recording yourself with a webcam.
First, we’ll discuss how faces are detected, then we’ll extract the coordinates of all faces in a frame and blur that area. Nothing too difficult; let’s code!
Series
This article is part of a series about OpenCV image processing. Check out the other articles:
- Reading images, video’s, your screen, and the webcam
- Detecting and blurring faces (📍 You are here!)
- Destroying Duck Hunt with template matching: finding images in images
- Creating a motion-detector
- Detecting shapes without AI (under construction; coming soon)
- Detecting and reading text from images (under construction; coming soon)
Dependencies and setup
In this example, we’ll read our screen but remember that this function that we’re creating can be used for reading webcams, images, and video files as well. If you want to use another source then check out this article to learn how this is done.
In our case we’ll need the following imports:pip install opencv-python pillow
Next, we need to download two files from this link. These are pre-trained models that we are going to use for detecting faces (frontal and profile).
Creating the face-blur function
In this part, we’ll create a tool that anonymizes an image. Let’s walk through the code:
In this piece of code, we create a class that we can use to detect and blur faces. First, we initialize the two files that we’ve downloaded previously. Now we have two classifiers that we can use to detect faces. We do this with the blur_face function.
Detecting faces
After one line of pre-processing on line 13, we can start to use our classifiers to detect faces. In lines 17 and 18 we analyze our gray frame to detect front-facing faces and faces that are slightly turned profile. We put both outputs in an array.
Blurring faces
The next step is to loop through all faces that we found. On line 22 we specify a region of interest; this is a snippet that contains only the face. In the next line, we blur this snippet. Lastly, in line 24, we paste this snippet back in its original place on the original image. Then we return the image.
Done! Let’s put this class to the test.
Using the face-blur function
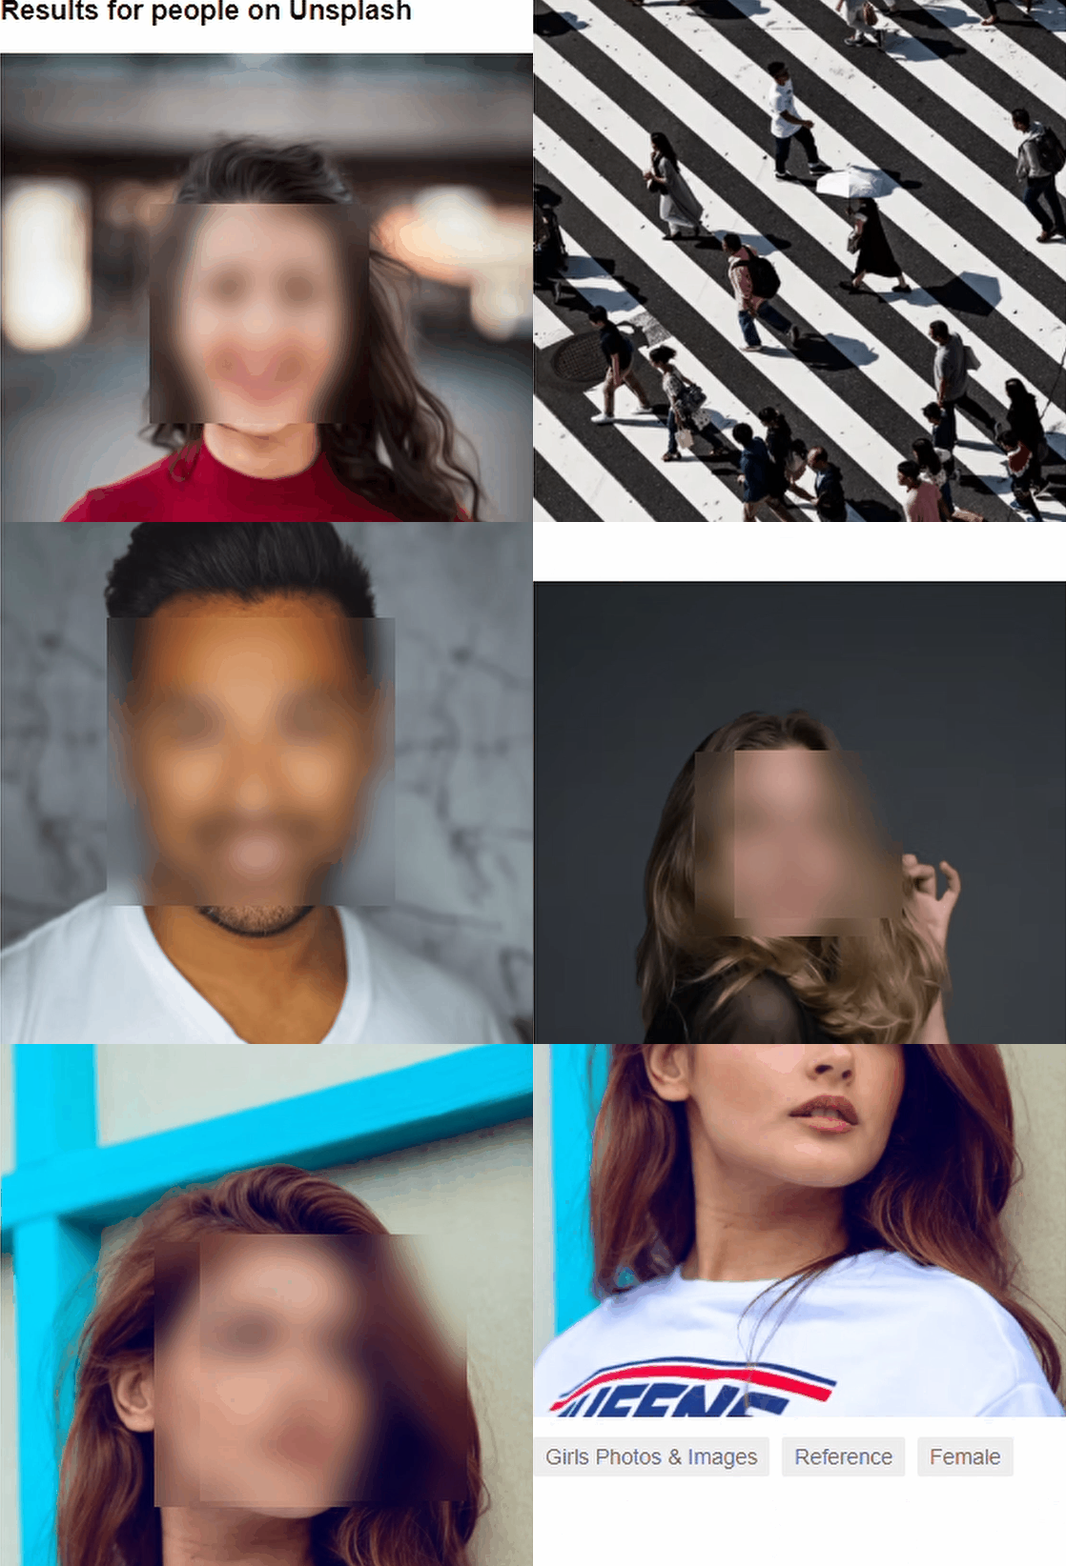
In this part, we’ll use the function. If you’ve read this article you know you can pass anything to this function: frames from a webcam or video file, reading your screen, or even a static function. In this example, we’ll read a part of our screen and anonymize some images that I’ve found on Google.
There are just three steps:
- Initialize class with the path to the cascades_folder (line 8)
- Screenshot our screen at a specific location (line 12)
- Pass the resulting image to the
blur_facemethod on class (line 15) - Show the image (line 18)
That’s it! Lets see some results!

Conclusion
In this part of the series we’ve handled image classifiers and modifying our image by blurring and overwriting to create a very easy-to-use function. We’ve seen that cascades are very easy to use and offer a lot of intelligence. In future articles we’ll examine how to train our own classifier; follow me to stay posted.
Don’t forget to check out the other articles in this series!
If you have suggestions/clarifications please comment so I can improve this article. In the meantime, check out my other articles on all kinds of programming-related topics like these:
- Why Python is slow and how to speed it up
- Advanced multi-tasking in Python: applying and benchmarking threadpools and processpools
- Write you own C extension to speed up Python x100
- Getting started with Cython: how to perform >1.7 billion calculations per second in Python
- Create a fast auto-documented, maintainable and easy-to-use Python API in 5 lines of code with FastAPI
- Create and publish your own Python package
- Create Your Custom, private Python Package That You Can PIP Install From Your Git Repository
- Virtual environments for absolute beginners — what is it and how to create one (+ examples)
- Dramatically improve your database insert speed with a simple upgrade
Happy coding!
— Mike
P.S: like what I’m doing? Follow me!

More content at PlainEnglish.io. Sign up for our free weekly newsletter. Follow us on Twitter, LinkedIn, YouTube, and Discord.
Interested in scaling your software startup? Check out Circuit.


